Usage Guide
Overview
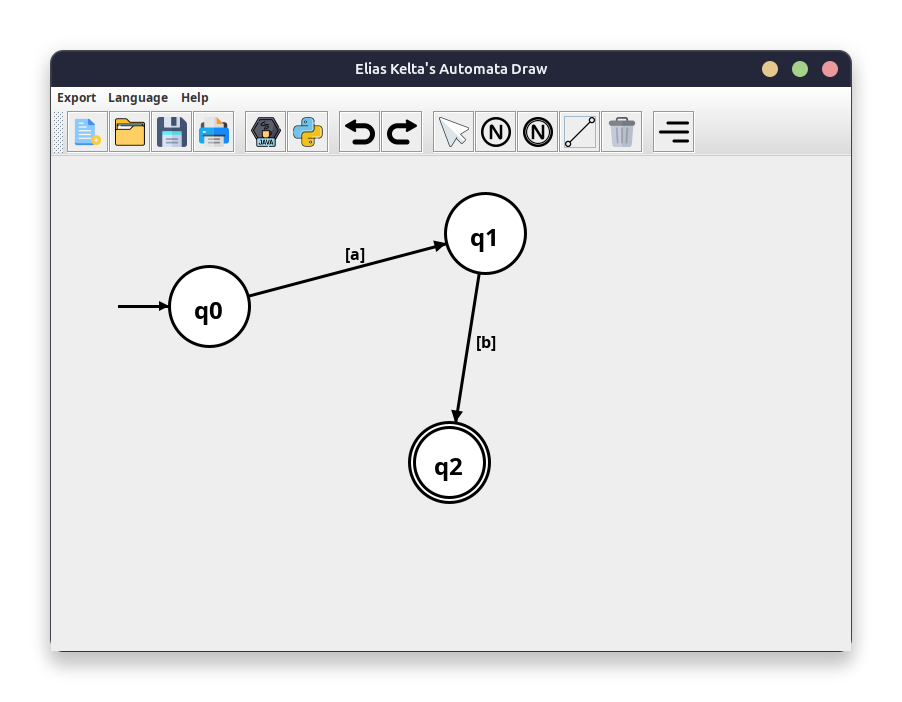
This application allows users to create, manipulate, and visualize automata. The main functionalities include adding nodes and edges, deleting nodes, moving nodes, and exporting the automaton as PNG or PDF.
User Interface Elements
Drawing Panel
- Click: Depending on the selected drawing mode, clicking on the drawing panel can add nodes or edges.
- Drag: In select mode, nodes can be dragged to new positions.
Buttons
- Print: Prints the current automaton.
- Export as PNG: Exports the current automaton as a PNG image.
- Export as PDF: Exports the current automaton as a PDF document.
- Generate Java Code: Generates Java code for the current automaton.
Drawing Modes
- Node Mode: Click on the drawing panel to add a new node.
- End Node Mode: Click on the drawing panel to add a new end node.
- Edge Mode: Click on two nodes sequentially to create an edge between them. A dialog will prompt for transition symbols.
- Delete Mode: Click on a node to delete it.
- Select Mode: Click and drag nodes to move them.
How to Use
- Adding Nodes:
- Select Node Mode or End Node Mode.
- Click on the drawing panel to add a node at the clicked position.
- Adding Edges:
- Select Edge Mode.
- Click on the first node, then click on the second node.
- Enter the transition symbols in the dialog that appears.
- Deleting Nodes:
- Select Delete Mode.
- Click on the node you want to delete.
- Moving Nodes:
- Select Select Mode.
- Click and hold on a node, then drag it to the desired position.
- Exporting Automaton:
- Click on Export as PNG or Export as PDF and choose the file location.
- Printing Automaton:
- Click on Print to open the print dialog and print the automaton.
- Generating Java Code:
- Click on Generate Java Code to generate Java code for the current automaton.
Notes
- Ensure that the automaton is valid and complete before exporting or generating code.
- Use the undo and redo functionalities to correct mistakes during the creation process.
Deployment/Installation
The deployment process is done via jpackage. It generates an installer file based on the provided type (I chose deb, since I'm using Ubuntu)
- Run
mvn clean package
- Install the deb installer with
sudo dpkg -i {installer.deb}
- Find out where it was installed with
dpkg -L automata | less. (In my case it's at: /opt/automata/bin/automata)
- And now launch it:
/opt/automata/bin/automata. The program should now open up.
- Optionally, you could add it to $PATH or create a Desktop entry.
Uninstall
To uninstall the program, run sudo dpkg -r automata